1 / 5
Voltage range: DC5V-28V.
Rated current: MAX 2A. To control motors with greater current, connect the motor power line directly to the power supply, not through the governor.
PWM output frequency: 0~100KHz.
Analog voltage output: 0-5V.
Working temperature: -10℃ to 70 ℃
Storage temperature: -30℃ to 125 ℃.
Driver board size: 60mm (Length) x 40mm (Width).
Governor, motor power supply positive input.
Governor, motor power input negative.
The positive output of the power supply of the motor.
Negative output of the power supply of the motor.
High and low level output of positive and negative rotation control. High level 5V, low level 0V. Controlled by touch switch 2 (F/R), default is high level.
High and low level output of brake control. High level 5V, low level 0V. Controlled by touch switch 1 (BRA), power on defaults to high level.
Analog voltage output (0~5V). This interface is suitable for accepting analog voltage speed regulation motor.
PWM1 reverse output. This interface is suitable for motors accepting PWM speed regulation (speed is inversely proportional to duty cycle).
PWM2 forward output. This interface is suitable for motors accepting PWM speed regulation (speed is proportional to duty cycle).
The output signal changes of these three interfaces are adjusted by the potentiometer.
Motor feedback signal input.
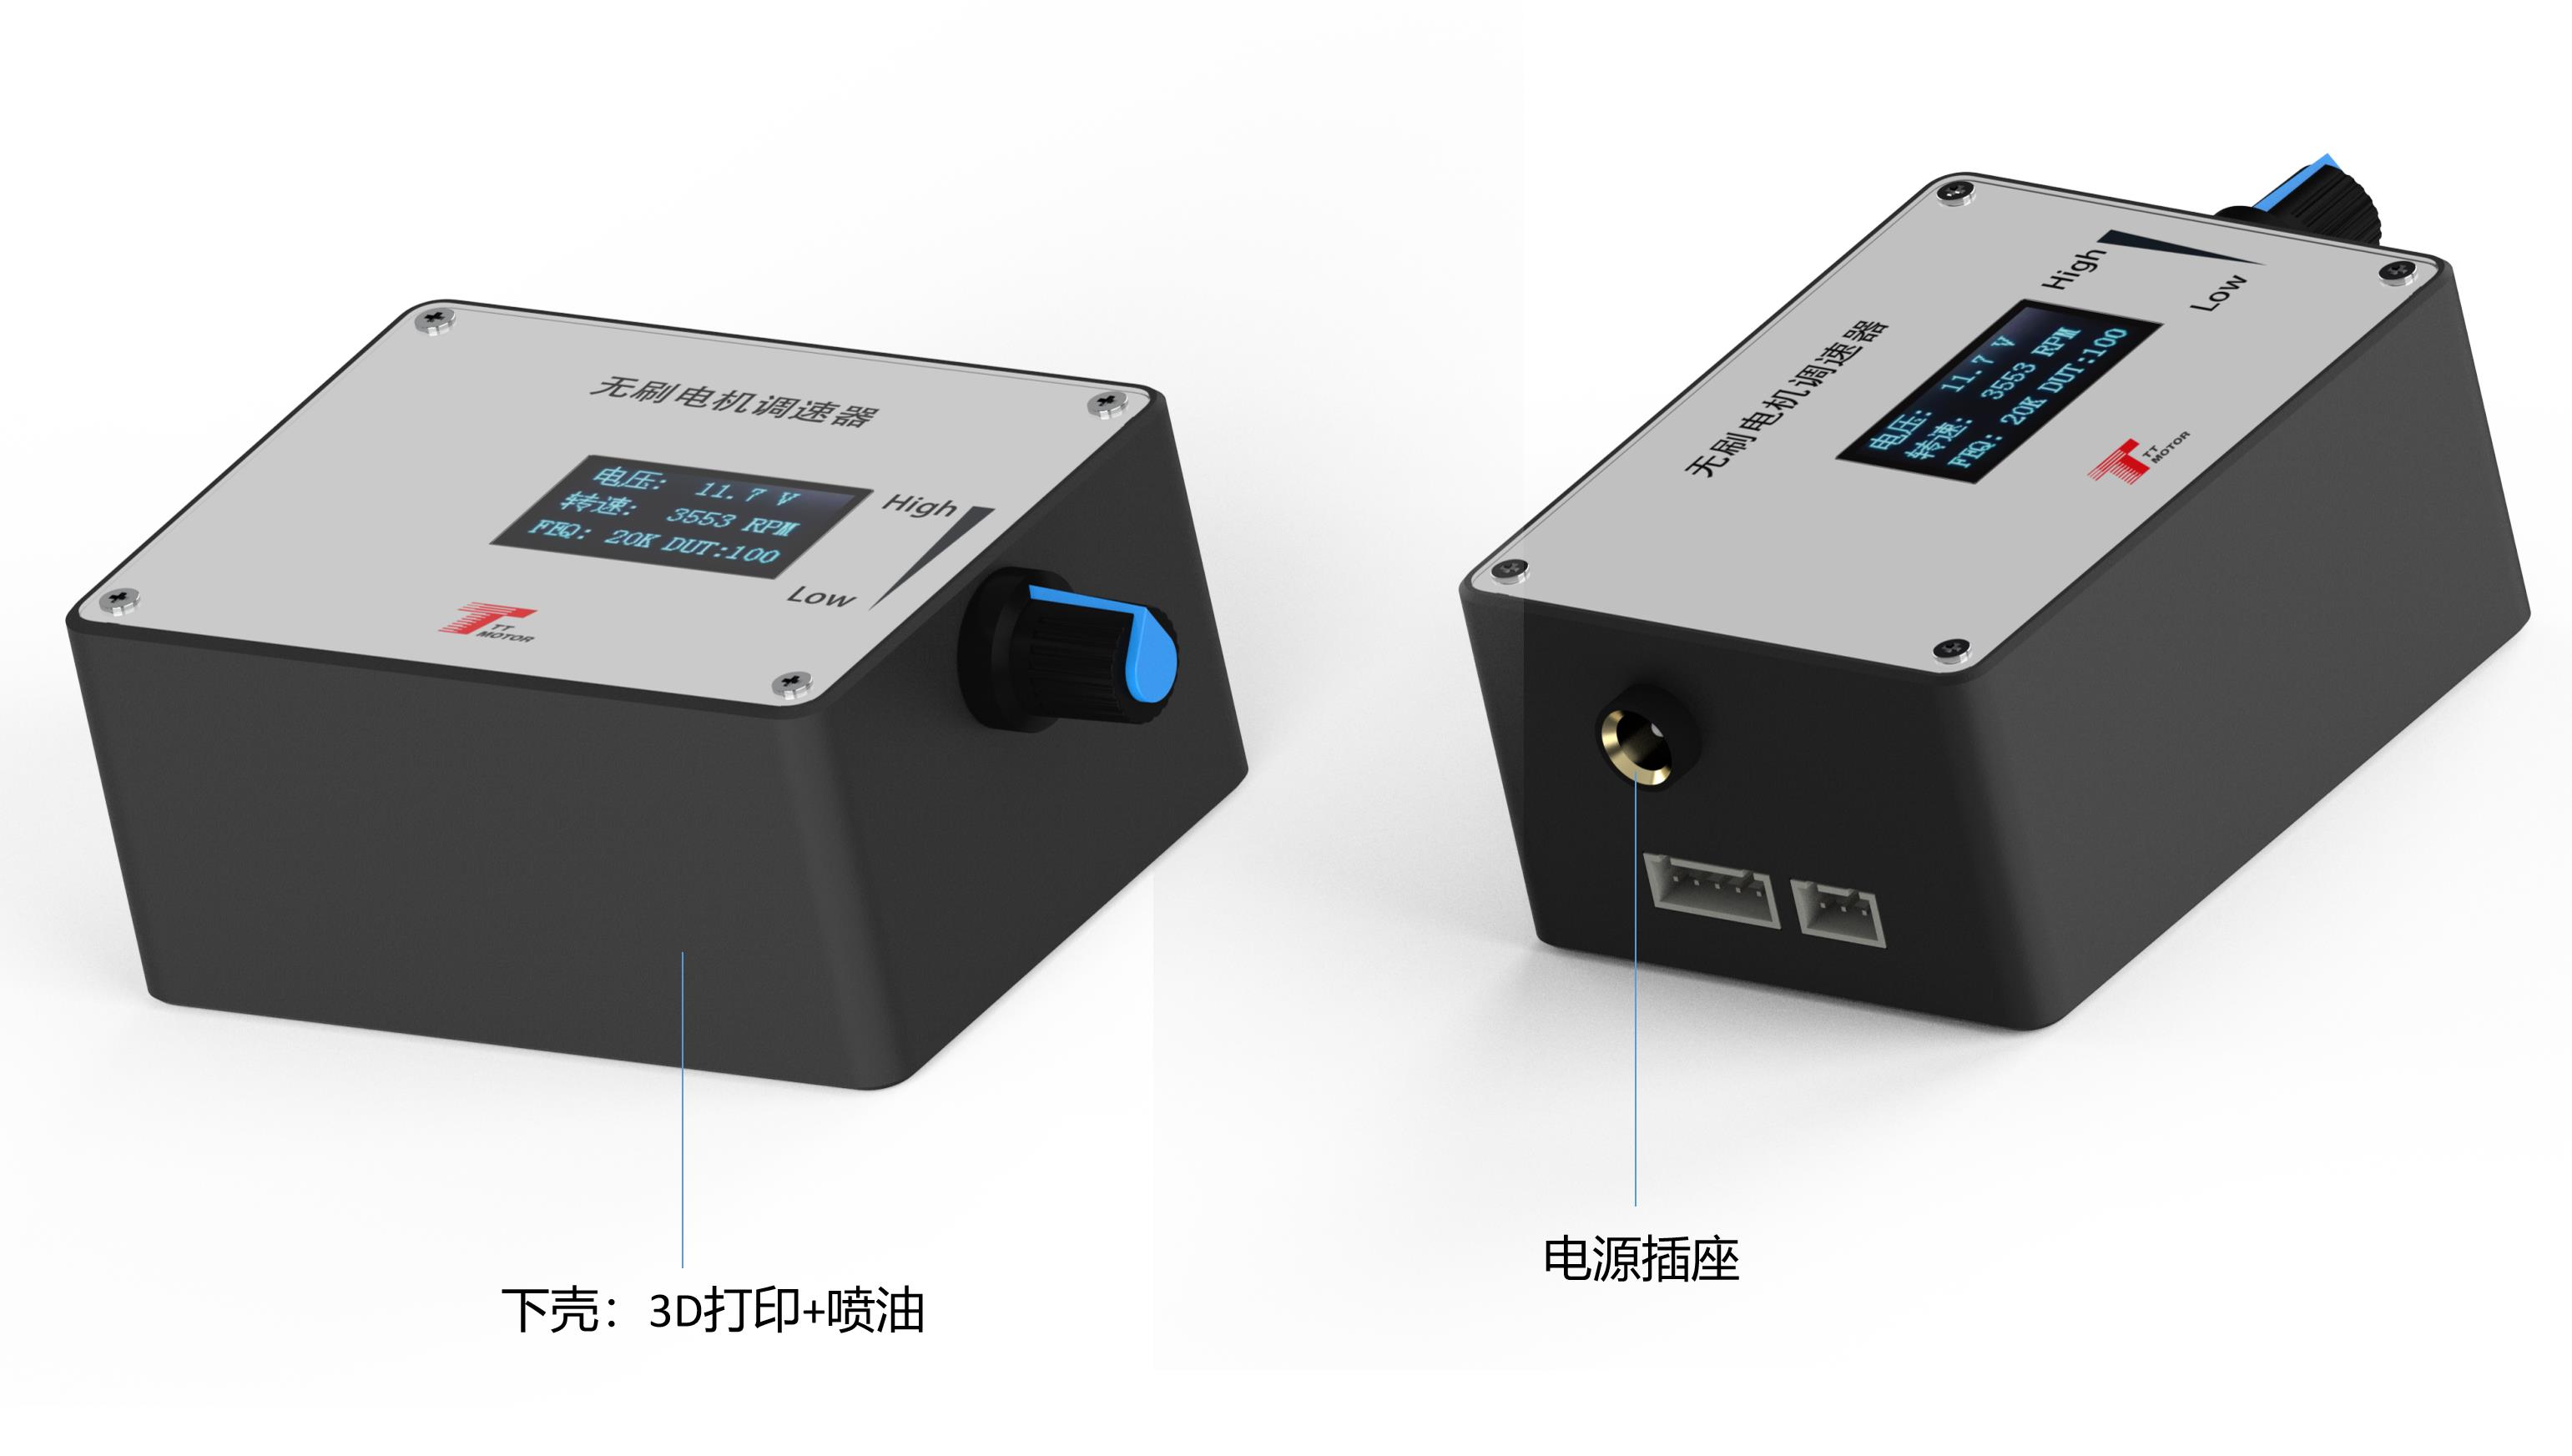
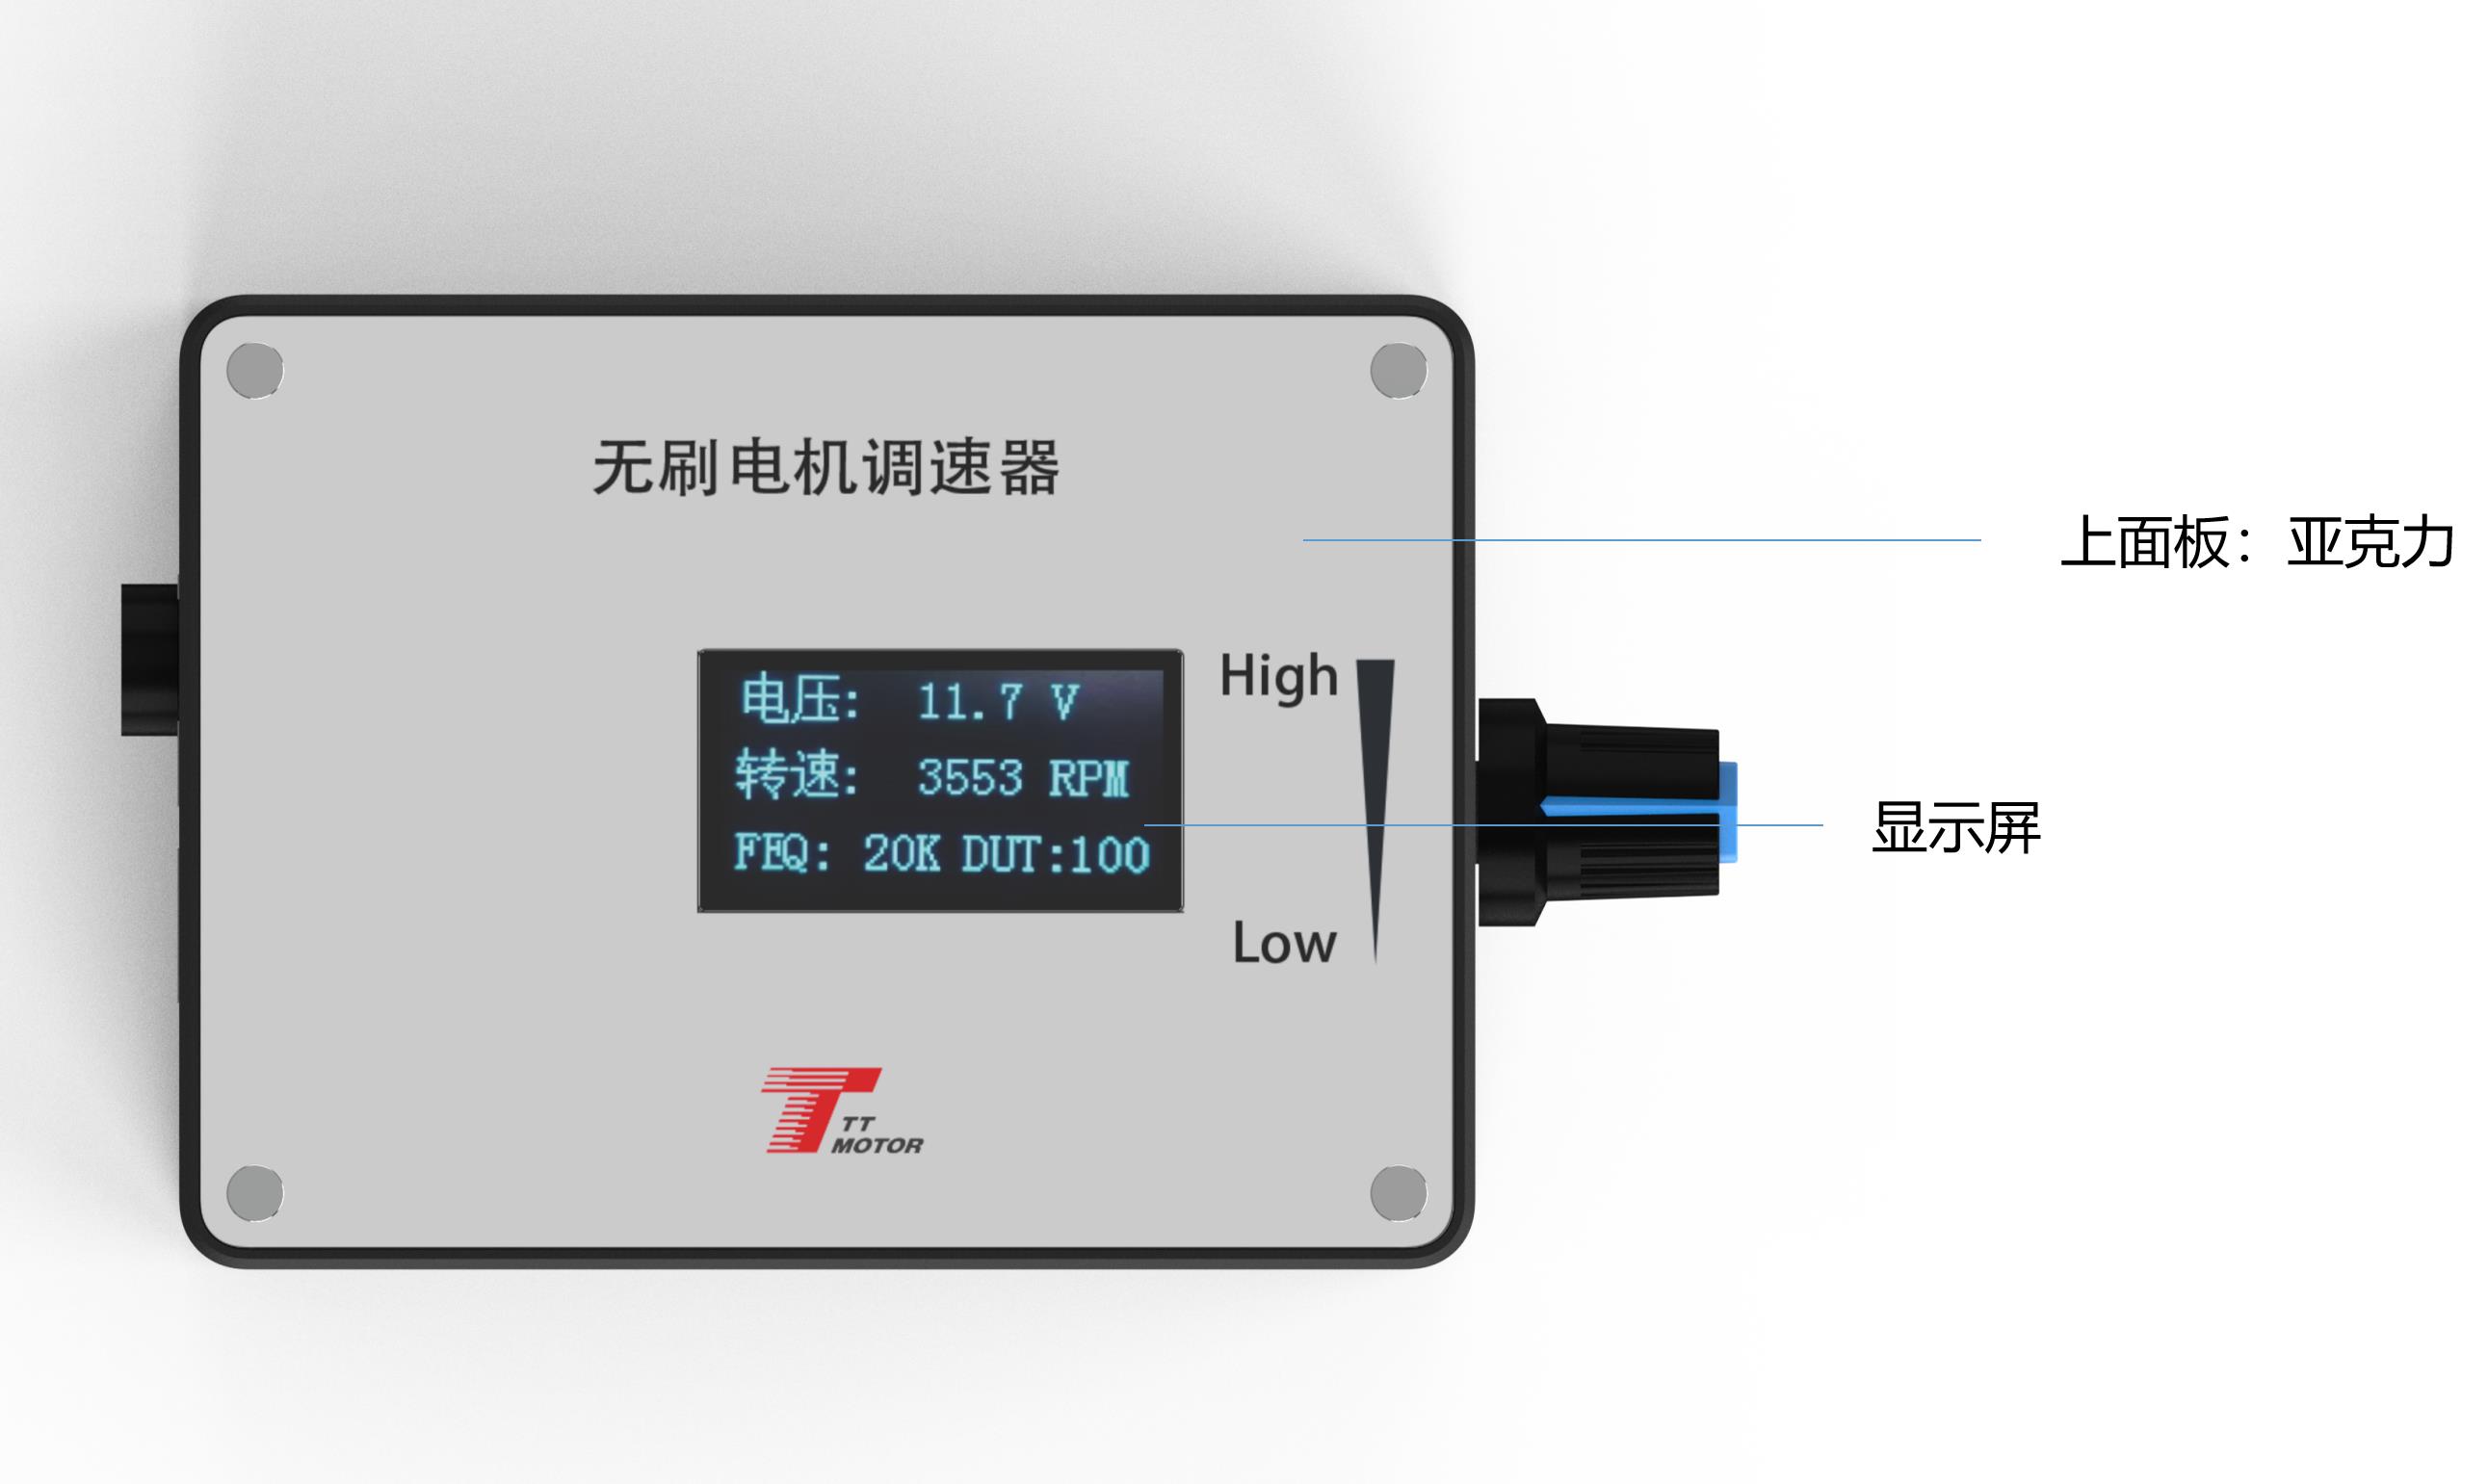
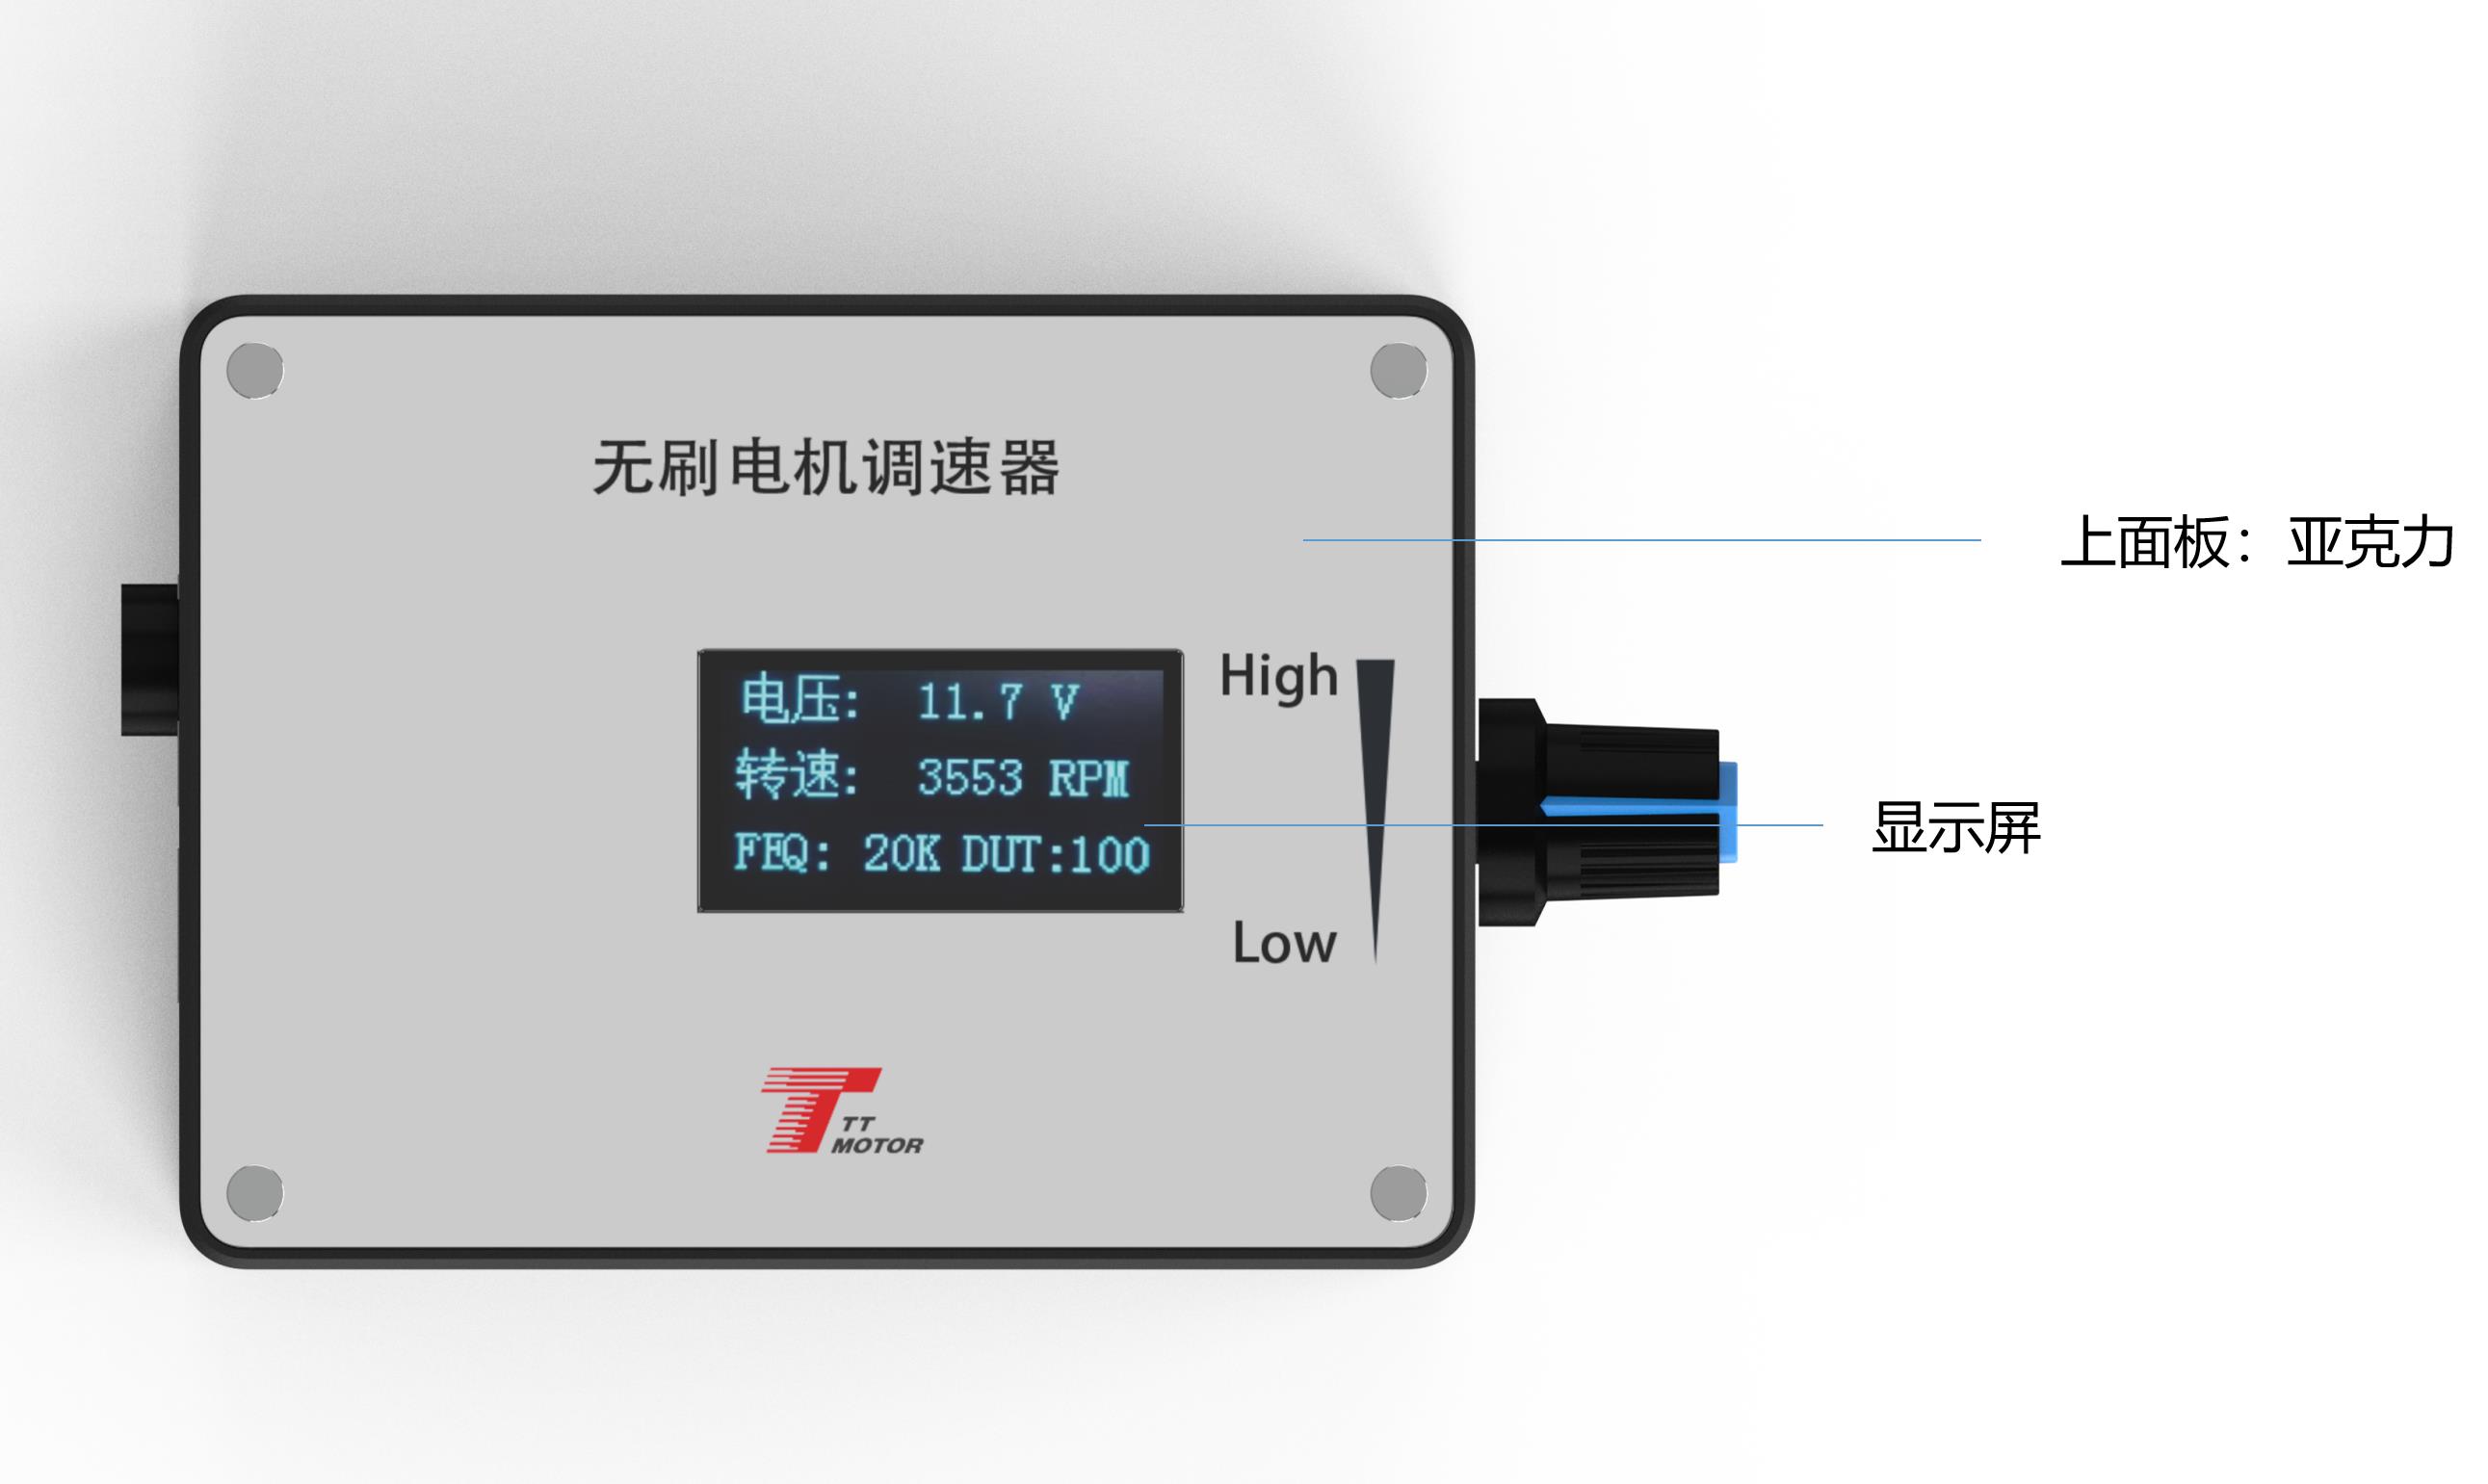
Press and hold touch switch 1 before powering on, then power the governor board. Release the button when the screen displays "FEQ:20K". Touch switch 1 to decrease and touch switch 2 to increase. The factory default setting is 20KHz.
Before powering on, hold down touch switch 1 and touch switch 2 simultaneously. Power the governor board and release the buttons when the screen shows "number of poles: 1 polarity". Press touch switch 1 to decrease and touch switch 2 to increase to match the design of the motor. The factory default is 1 pole.
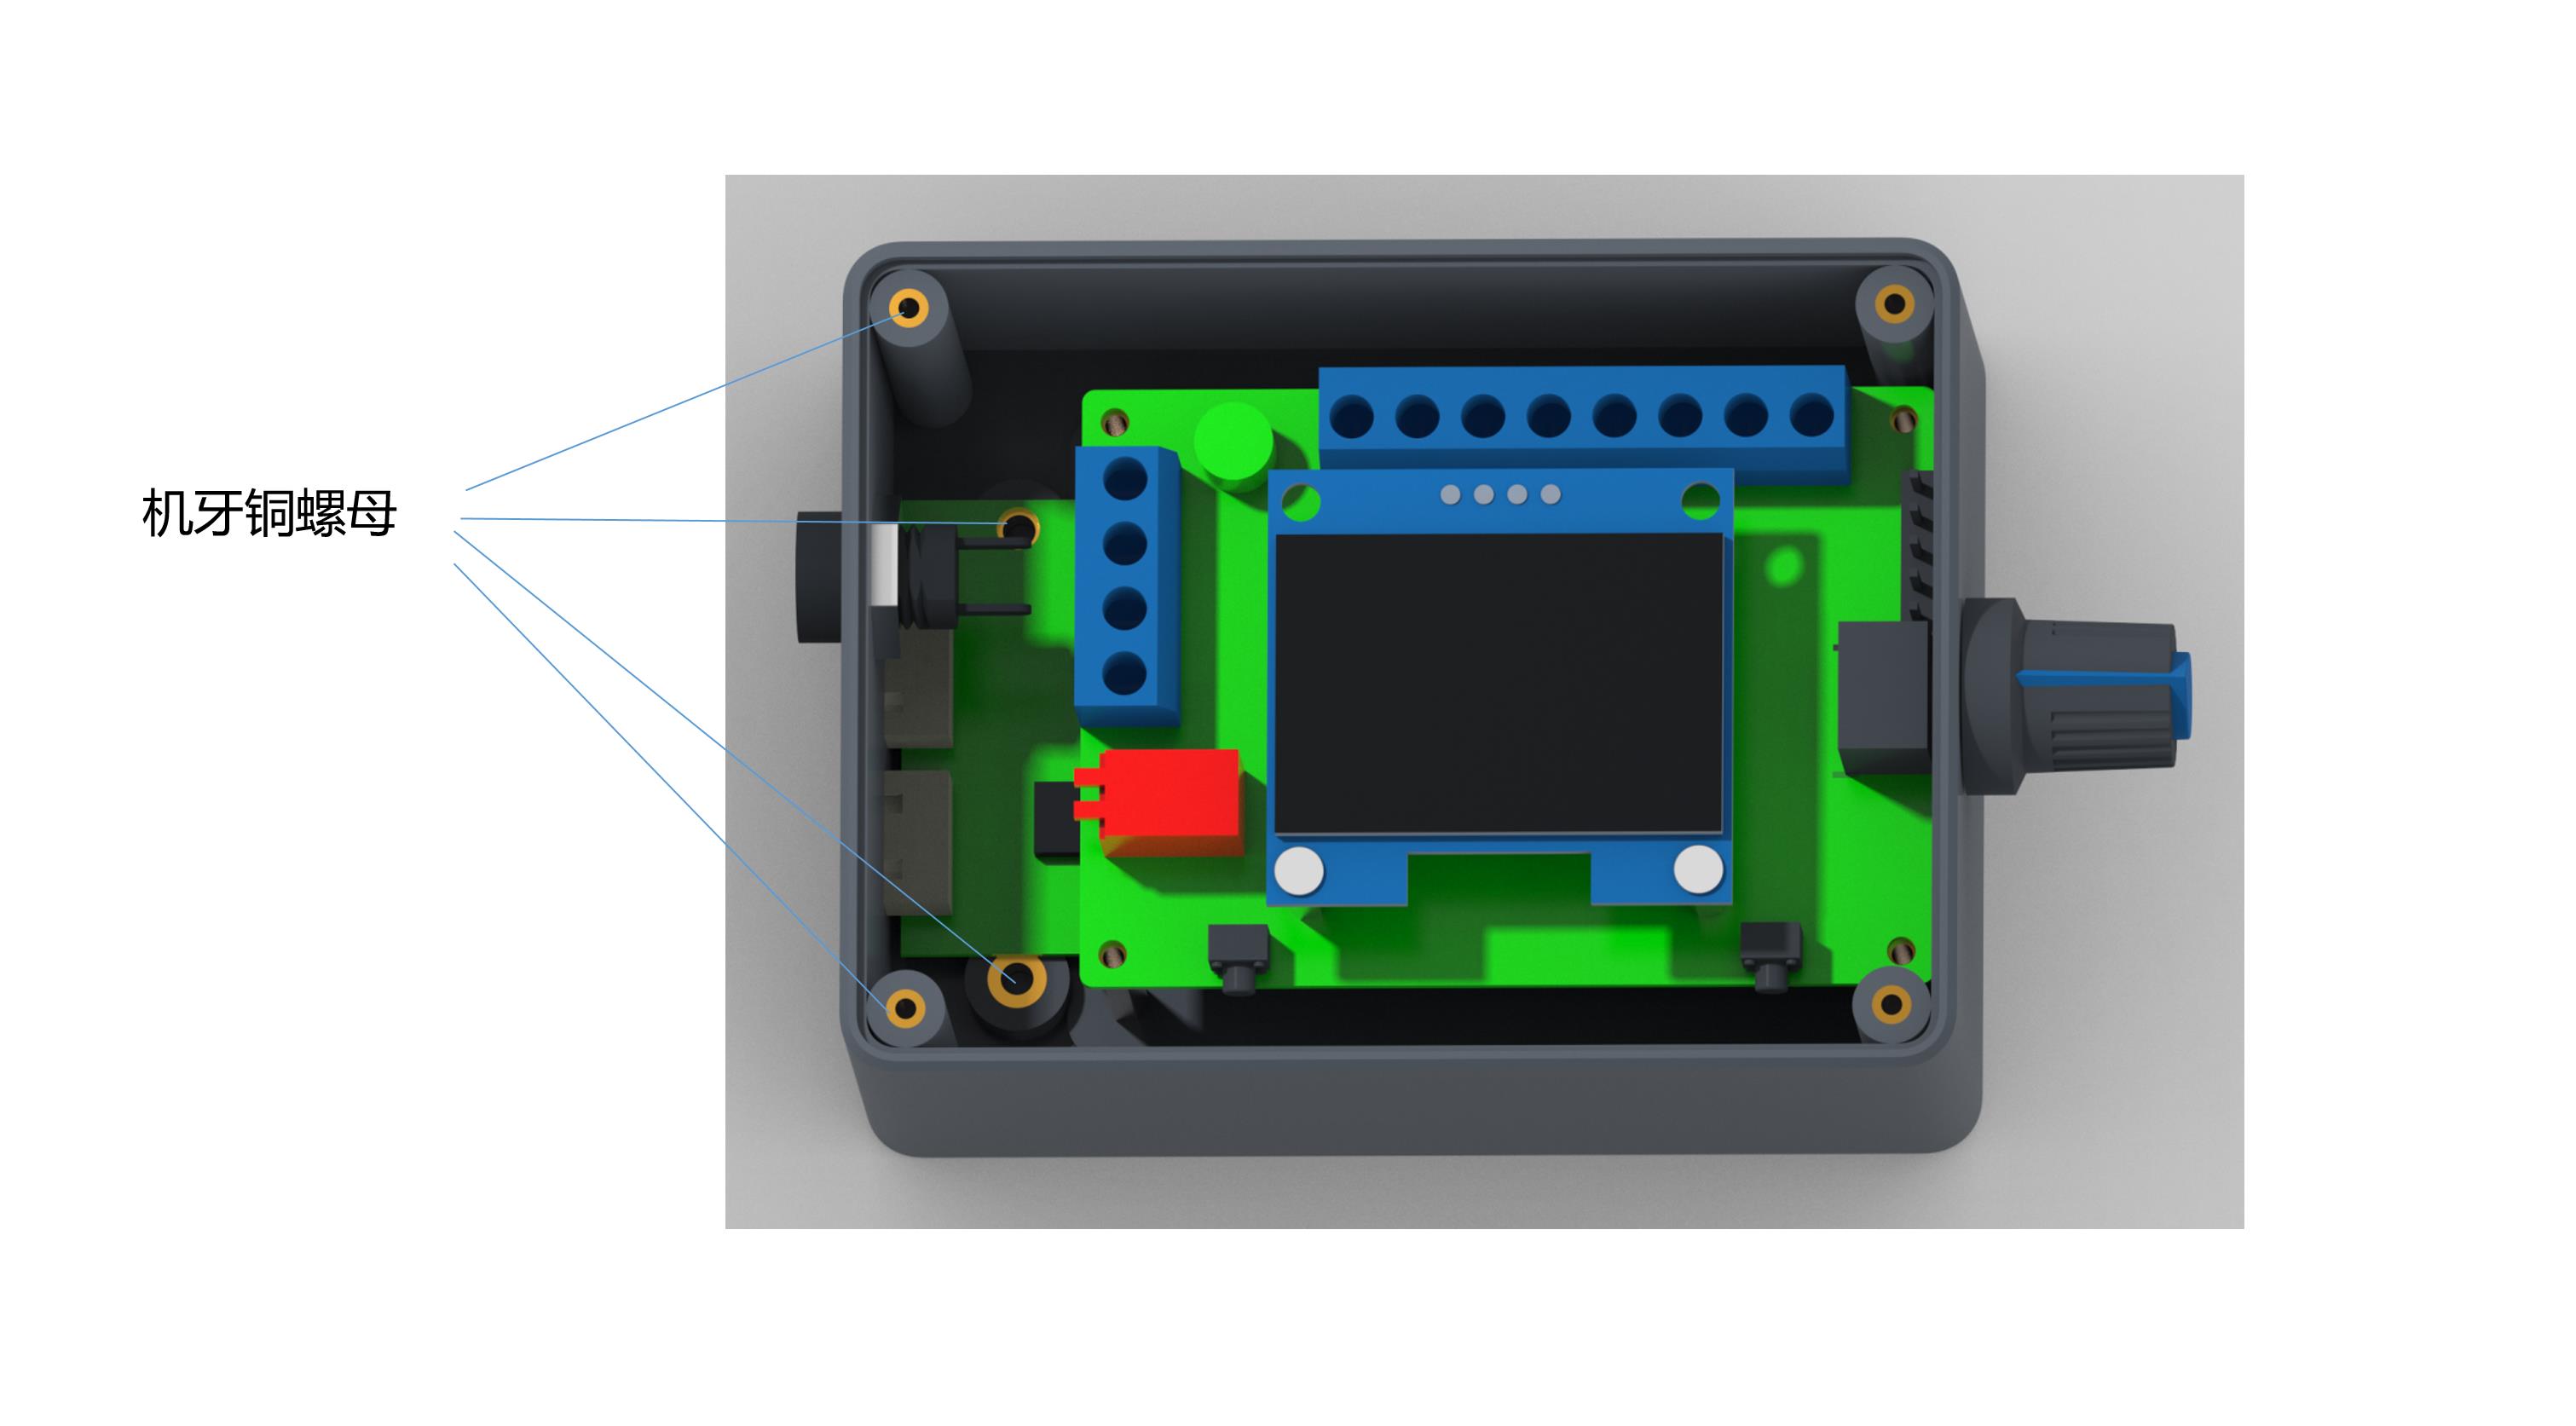
Configure the FG/FG*3 pin as the feedback multiple. Set based on whether the motor feedback multiplier is a single FG or three times FG. Adding the jumper cap sets it to 3 times FG; removing it defaults to a single-time FG.
The CW/CCW pin configures the initial state direction of the motor. It depends on whether the motor is CW or CCW when the motor direction control line is suspended. Add a skip cap for CCW; leave it without a skip cap for CW.
The operational voltage range is DC 5V-28V with a rated maximum current of 2A. If you need to control a motor requiring higher current, connect the motor power line directly to your power supply source instead of passing it through the governor board.
Before powering on, press and hold touch switch 1. Turn on the power and release the switch when the screen shows "FEQ:20K". You can then use touch switch 1 to decrease the frequency or touch switch 2 to increase it. The default factory setting is 20KHz.
Press and hold both touch switch 1 and touch switch 2 before powering on the board. Once powered, release the buttons when the display indicates the polarity state. Use switch 1 to decrease or switch 2 to increase the values to match the motor's pole count. The factory default is 1 pole.
The FG/FG*3 pin sets the feedback multiplier. If no jumper cap is added, the feedback rate is a single-time FG. If the jumper cap is applied, it increases the feedback multiplier to 3 times FG (FG*3).
No. Control ports 5 through 9 cannot handle input voltages exceeding 5V. Exceeding this threshold risk damaging the logic circuits on the governor board.